Call this Monday to Get $35 OFF.
Hire Local Trusted Electricians Now
Call This Monday to Get$35 OFFCall this Monday to Get $35 OFF.
Hire Local Trusted Electricians Now
Call This Monday to Get$35 OFF
While it's true that electrical installations come with risks and strict code requirements that demand the expertise of a certified electrician, a ceiling fan installation or replacement is something that handy homeowners may be able to handle on their own. That said, safety should always come first. If you’re unsure, don’t hesitate to call Mr. Electric and have a qualified electrician handle the job.
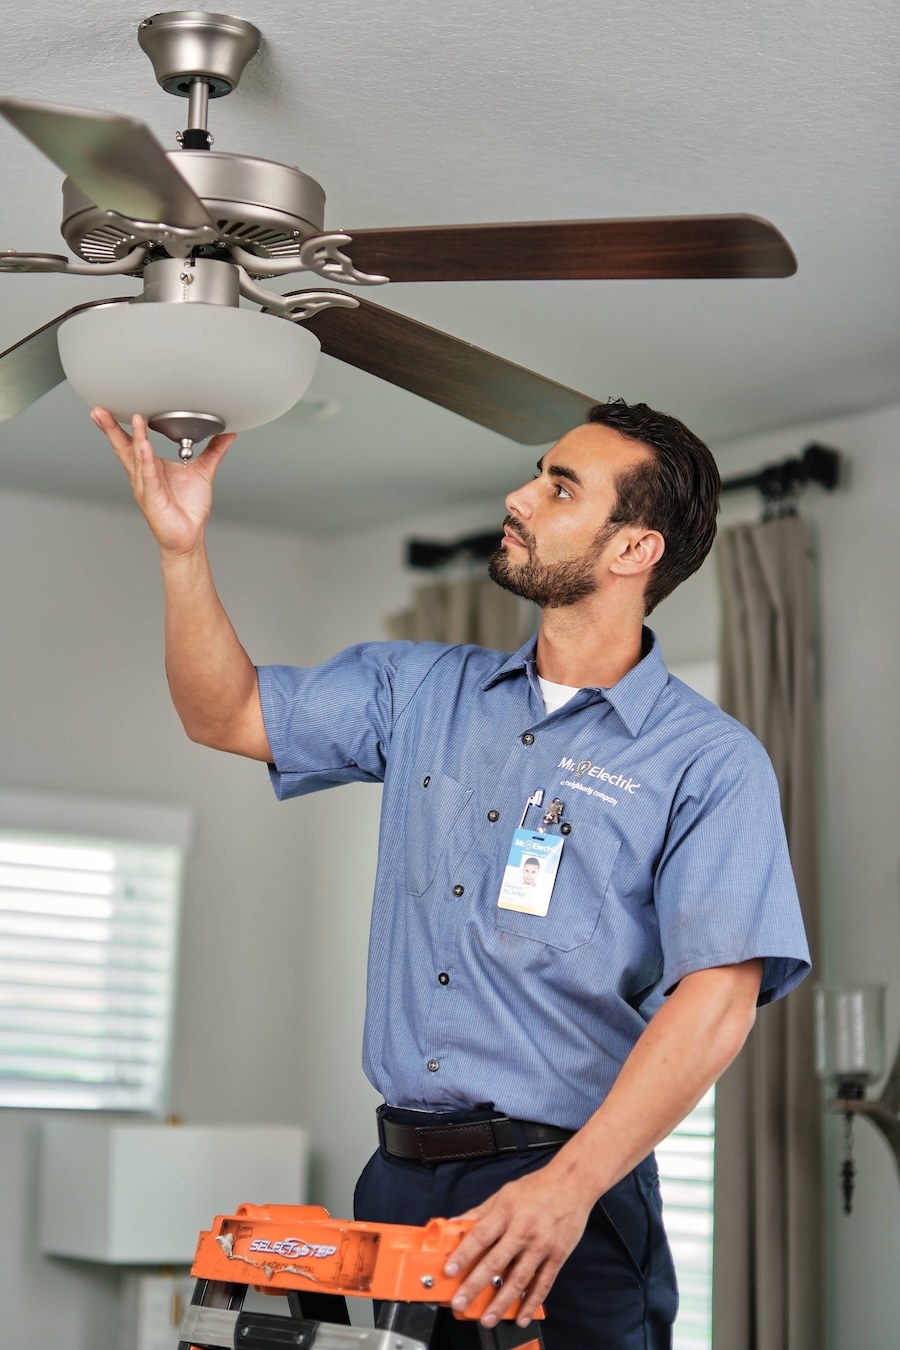
In this brief article brought to you by Mr. Electric, we walk you through the key steps of installing a ceiling fan safely. This is not meant to encourage DIY electrical work, and it is always advisable to hire a certified and insured electrician. The uniformed professionals at Mr. Electric are just a call away.
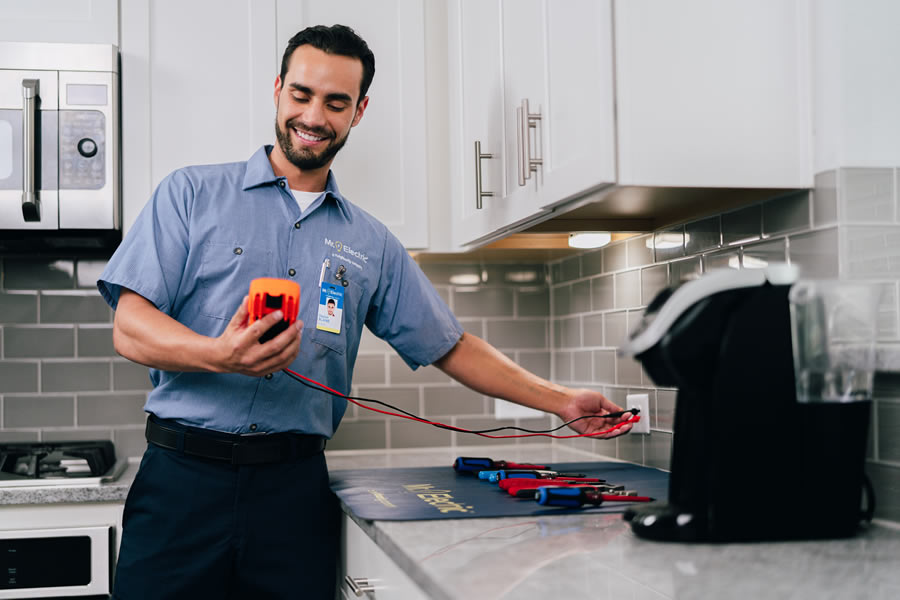
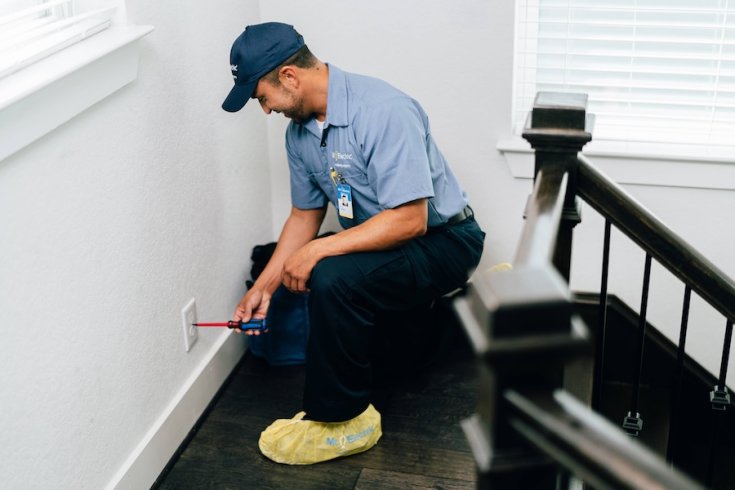
Before anything else, turn off the power to the room where you’ll be installing the fan. Flip the respective circuit breaker switch in your electrical panel to cut off electricity to the room. Then, double-check that the power is off by using a voltage tester on the wires at the ceiling box.
Everything in your home, from the lights and kitchen appliances to your HVAC system, depends on electricity for power. When electrical problems arise,…
Read More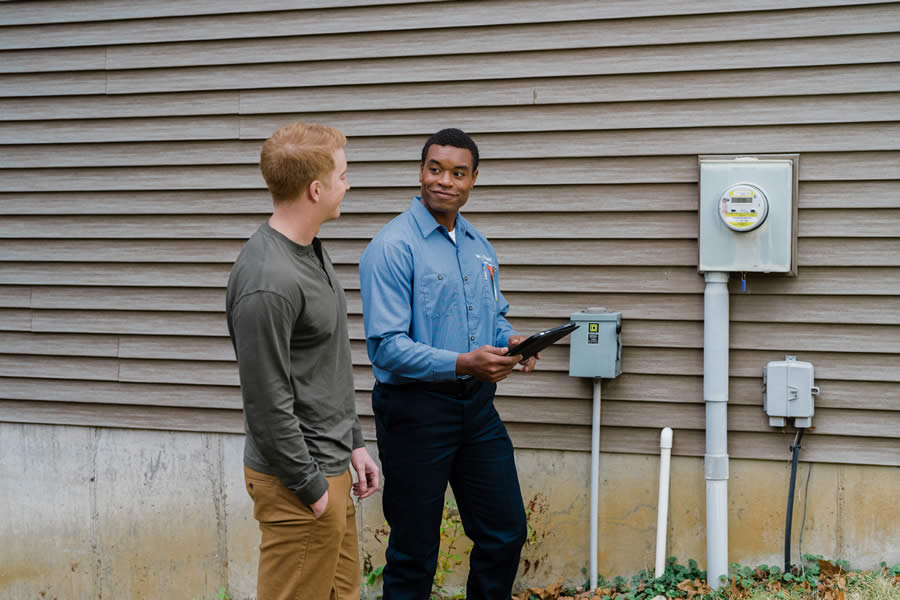
A circuit breaker protects you and your family from electrical hazards. When it begins to malfunction, the risks can quickly snowball from a…
Read More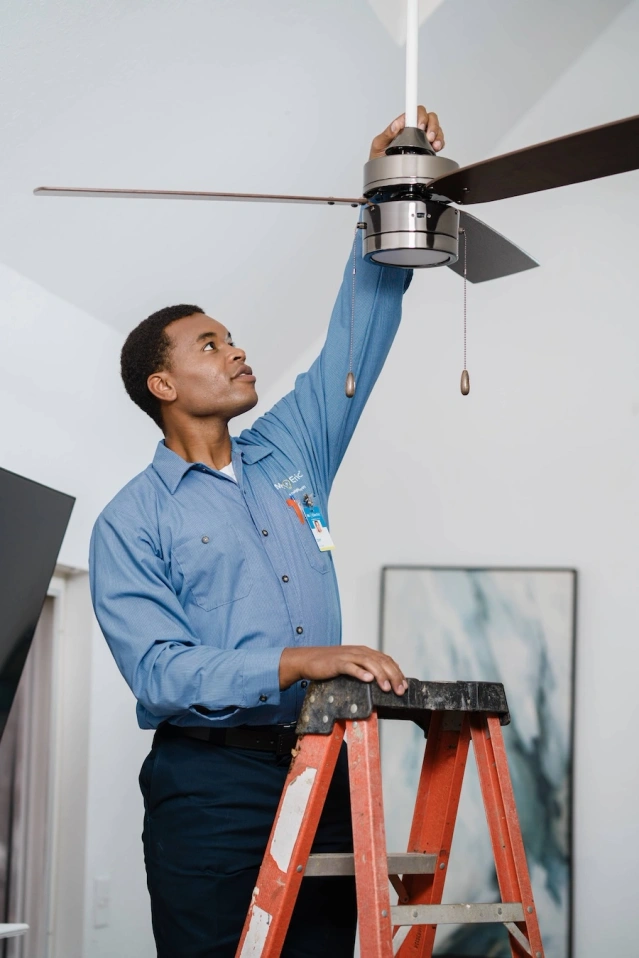
Ceiling fans add style and improve energy efficiency, but the process of installing or replacing a ceiling fan isn't always as simple as…
Read More
Your home's electrical system is something you rely on every day, but it doesn’t always make it obvious when there’s a problem. Flickering…
Read MoreIMPORTANT: Never trust a light switch alone to turn off power; Instead, use the circuit breaker!
If you're replacing a light fixture with a ceiling fan, then assess the electrical box first. Ceiling fans are heavier than light fixtures and spin at high speeds, so the electrical box must be rated to support a fan’s weight and movement.
Look for a label on the box that says “Ceiling Fan Rated.” If it's not, then you’ll need to replace it with a fan-rated box mounted securely to a ceiling joist or a fan brace bar.
If you're unsure, this is a good place to pause and call Mr. Electric to have a trained electrician inspect and install the proper mounting equipment.
Before getting on the ladder, follow the manufacturer's instructions to assemble the fan blades, light kit, and downrod if you're using one. Keep screws, wire connectors, and parts organized so nothing gets misplaced.
Install the mounting bracket to the fan-rated electrical box. This bracket will support the fan’s weight so be sure that it’s screwed tightly to the box with the provided hardware. Double-check for wobble or looseness. A shaky bracket could lead to a wobbly fan - or worse.
Next comes the wiring. Connect the fan’s wires to the wires in the ceiling box. Typical wiring includes: black, blue, white, and green wires. Use wire nuts to securely twist each matching wire pair together. Then gently tuck the wires into the electrical box.
If your ceiling has separate wall switches for the fan and light, make sure you connect the right wires to the correct switch leads. Wiring can be tricky - and dangerous. If you're unsure, call a certified electrician.
Once the wiring is done, lift the fan motor into place and attach it to the mounting bracket. Depending on the model, this may involve securing a downrod or hanging the motor directly. Then, attach the fan blades and any light kit according to the manufacturer's instructions. Make sure all screws are tight to avoid wobbling or noise.
Turn the circuit breaker back on and test the fan. Try the light switch and fan settings to confirm everything is working correctly. Look for signs of wobble, noise, or flickering lights.
If you experience any issues or if something doesn’t seem quite right, then turn off the power and double-check your work. Better yet, call in a professional for a final inspection.
A ceiling fan installation might seem simple, but a lot can go wrong if the wiring or mounting is done incorrectly. If you're in the Triangle, then Mr. Electric is your go-to source for reliable installations. Our local electricians:
We also offer emergency electrical repair services. If anything goes wrong — even during a DIY attempt — Mr. Electric is here to help.
If you’ve got a toddler in the house, then you already know the feeling: turn your back for two seconds and somehow they’ve…
Read More
Let’s be honest: most people don’t think about their electrical systems until something goes wrong. In today’s tech-heavy world where the average home…
Read More
While it's true that electrical installations come with risks and strict code requirements that demand the expertise of a certified…
Read More
Buying a home is one of the most significant investments you’ll ever make. While it’s exciting to find your dream…
Read More